
TIPS FOR TAKING BETTER TRAVEL PHOTOGRAPHS
We all want to take beautiful photographs to show off the amazing destination we went to on our holiday. There are so many times where we come home disappointed when our shots don't look like the ones we see online. We always vow to try again next trip, but now is the time not to vow again but to learn how!
1. Pack Less
When travelling you want to be as comfortable and mobile as possible. The first thing to weigh you down is luggage and when it comes to photography gear - less can be more.
If you have a point-and-shoot camera try buying a smaller bag that only holds the unit, extra batteries and memory cards. Don't worry about not fitting in your charger as you can always pack it with your laptop cables. Your camera bag will be with your most of the time and you don't need to take your charging cables on your tour.
If you have a DSLR, try leaving a few lenses behind and instead just take your wide angle and telephoto lens. Lenses can become very heavy and if you are tired or aggravated from carrying heavy gear you won't be in the right mindset to take stunning photos.
2. Rule of Thirds
Rather than placing your subject directly in the middle of the frame try using the rule of thirds which includes placing your subject or point of interest to the top/bottom right or top/bottom left hand side of the frame. This is more visually appealing to the eye.
3. Get your postcard shot then move on
Everyone wants that postcard shot which is totally understandable. However, we recommend you get it out of your system so you can move on to find other interesting takes on the area, which brings us to our next point...
4. Include Locals & Culture
You are travelling to experience what another culture has to offer. This isn't just the landmarks but also the local people. Why not capture a sign at a fruit market or someone transporting goods around.

a picture of an old man in ubud
5. Tell A Story
A picture is worth a thousand words so why not make it interesting. Rather than getting annoyed waiting for people to clear out so you have a clean shot of a temple, include the local walking into shot carrying on with his day.
6. Get Closer
This can be done physically or through the camera if you have a decent zoom. Photographs are more visually appealing if you can see the detail of the landmark or person. If you are using the in camera zoom make sure you use the optical zoom and not the digital zoom as this results in a clearer image.
7. Time of day
The best time to photograph is in the morning and afternoon, which is the worst times whilst travelling right? No one likes waking up early and when the sun goes down it's time to eat. But trust us as this is when you should be out taking photographs and especially during golden hour which is about 20-30 minutes after sunrise and before the sun has gone down.
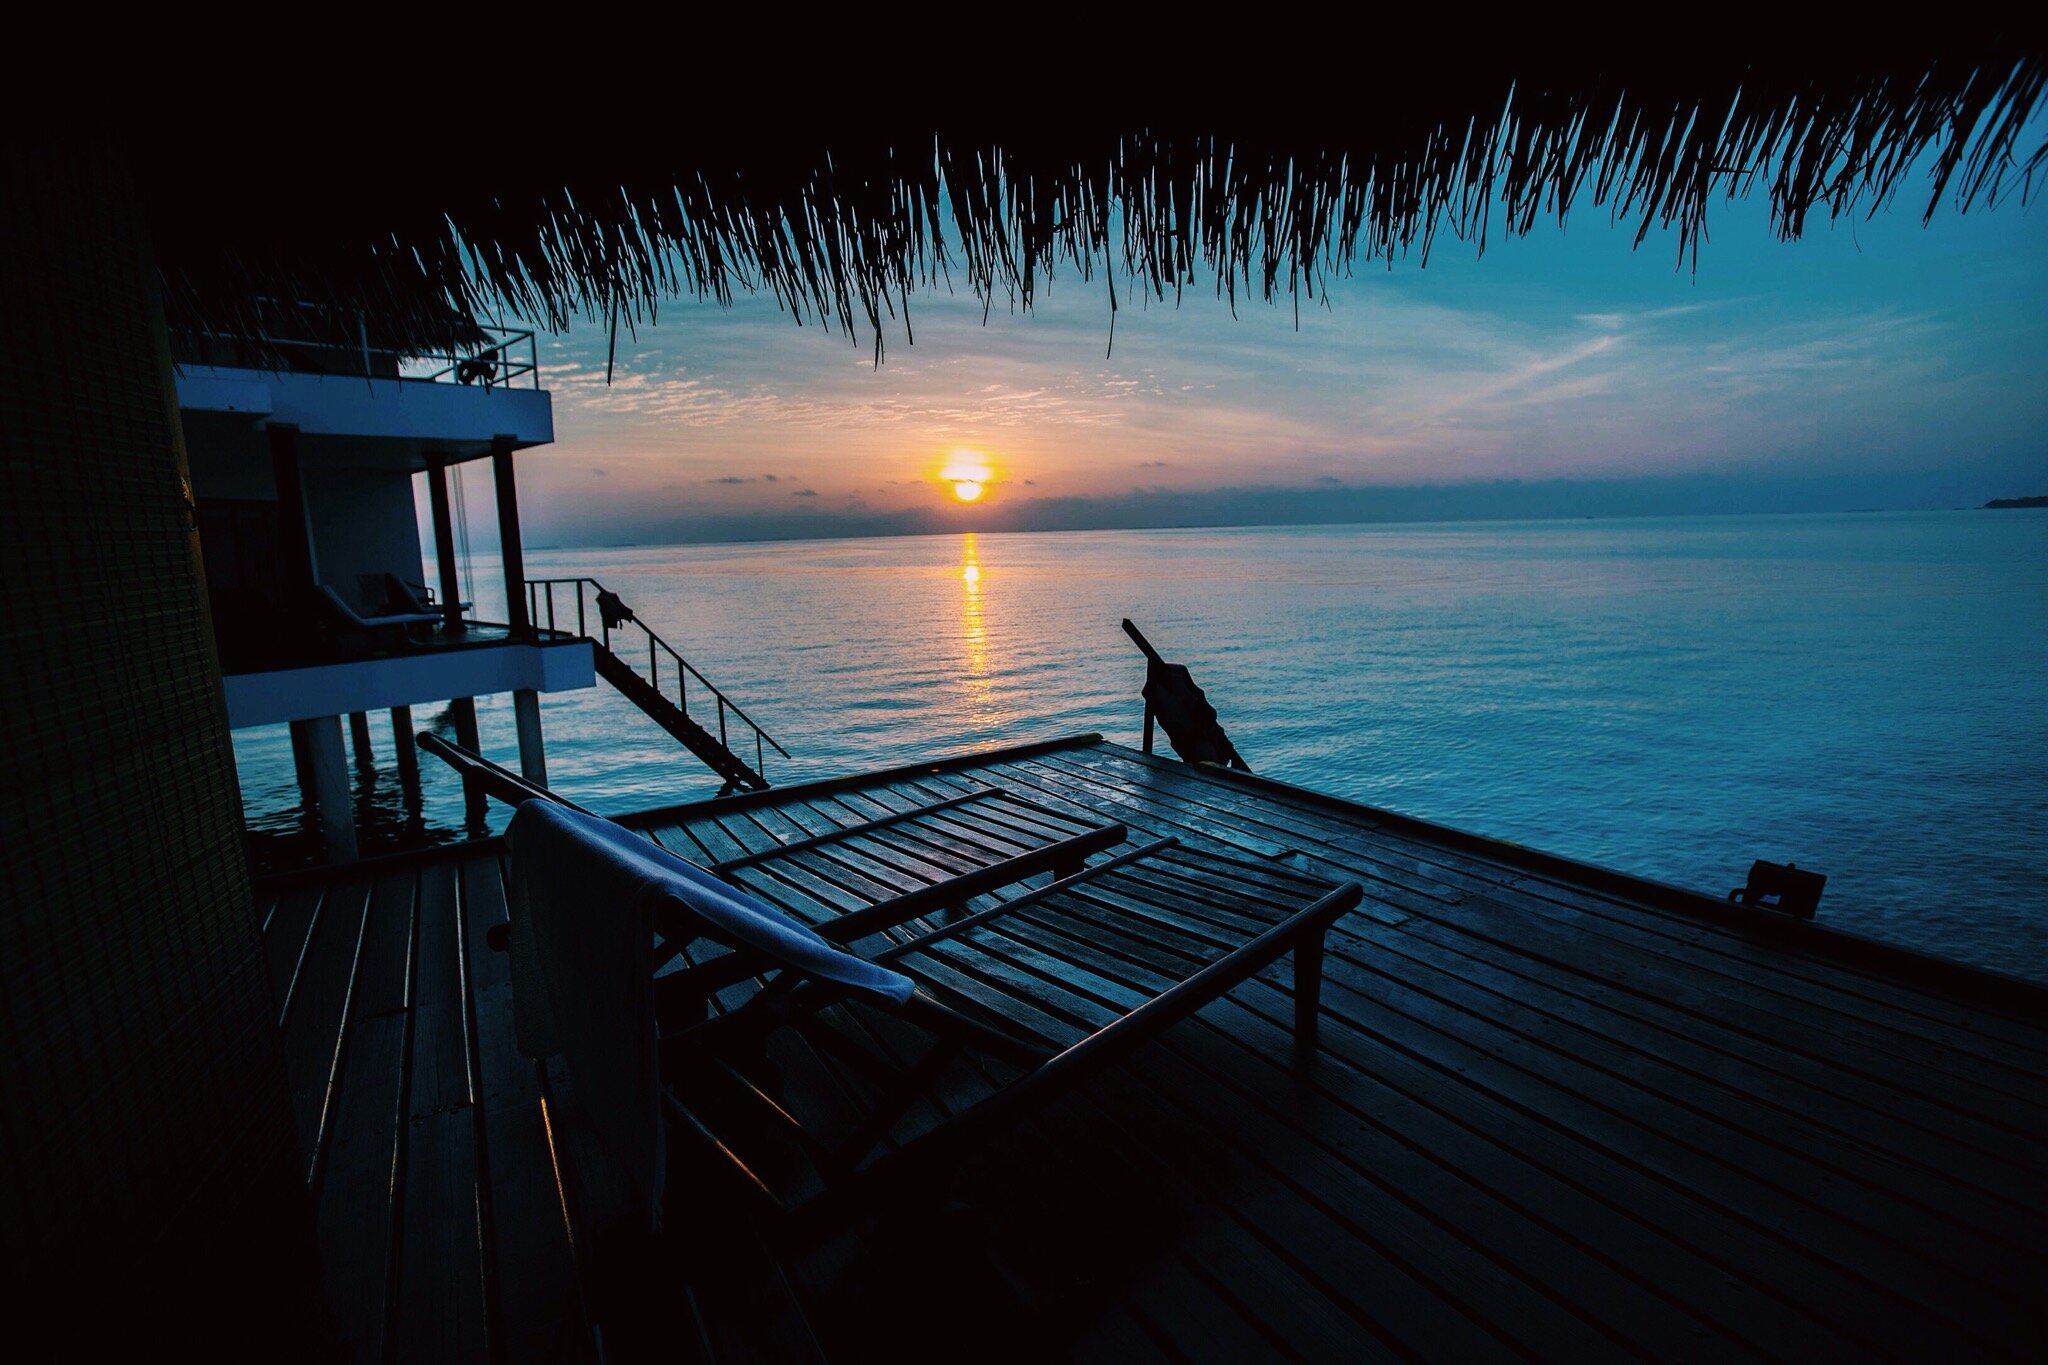
PHOTO DIARY: MALDIVES PHOTOS
8. Mix Up Your Angles
Why not try mixing up your angles, get on your knees or go up high to try and include shots that are not eye level. Also if you find you are always taking horizontal shots why not try some vertical ones? Your Facebook, Pinterest or photo album will look much more visually diverse.
9. Frame the Composition
Take a moment to look at your surroundings, is your subject between two trees or in a walkway? Try and frame your shot to have a frame around it. This draws the eyes towards the subject as well as giving depth and layers to your image.
10. Camera Settings
If you are unsure about manual settings and want to get out of auto - start by picking the aperture priority setting (A or AV on the camera). Your camera will do most of the work and all you will have to play with is a setting known as aperture which changes the f-stop.
The easiest way to explain this is when you lower the f-stop - the camera will let in more light. For example if you are in a dark cave you would lower the f-stop. Is the area too bright? Increase the f-stop. Aperture can also let you play around with shallow depth of field (blurry backgrounds) and will dramatically increase the quality of your photographs once you master this technique.
11. Do something
Rather than candid shots - get your subject to do something in the scene, like walking down a track or talking to a local. This will create an experiential shot.
Bonus - include yourselves and fellow travellers
There are countless photographs of the Eiffel Tower, but there are none of you in front of it. You will remember this and respect having yourself in frame, even if it is a cheesy generic photograph at least you have captured a moment in time of yourself to look back on in the future.
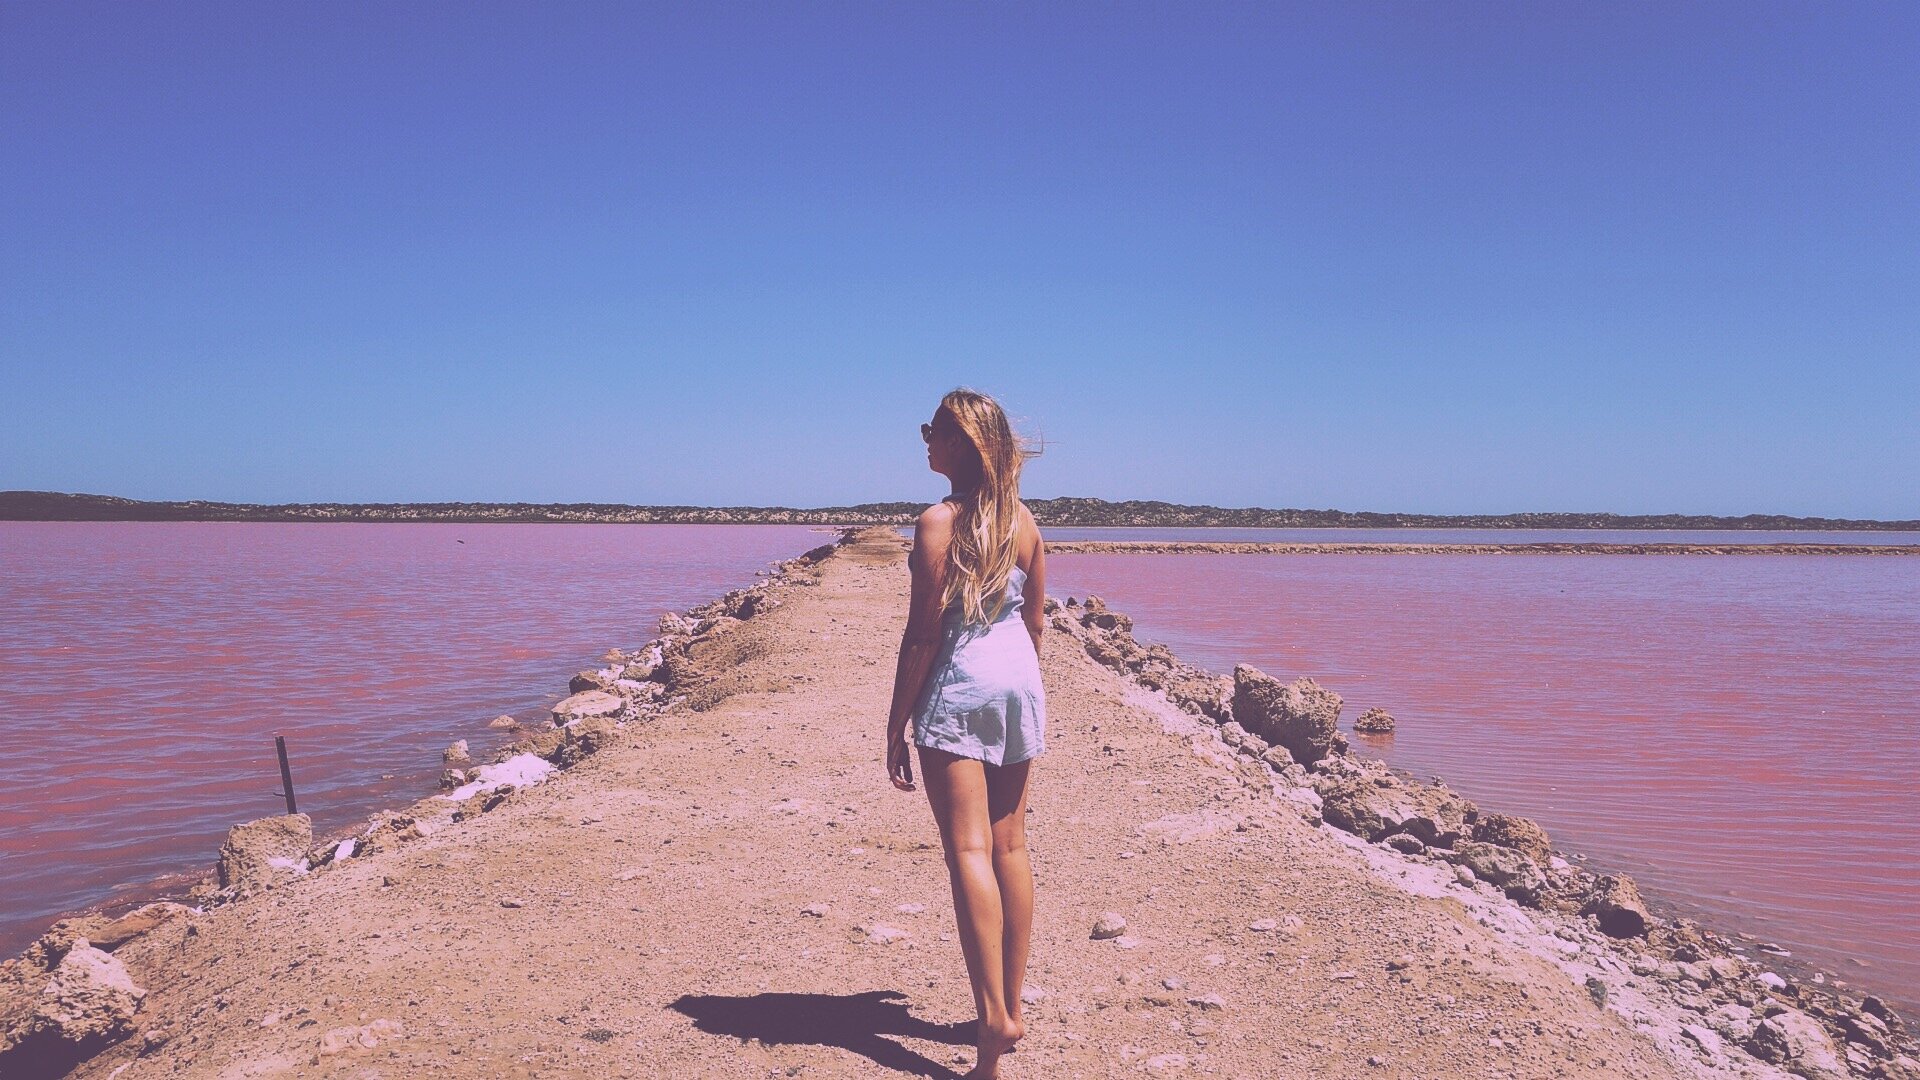
KALBARRI ROADTRIP PHOTOS
What are your photography tips?
READ MORE: PHOTO DIARY: THE MALDIVES
[related_posts taxonomy="category" numberposts="6" minimum="3" itemsmin="1" itemsmax="3" image_size="thumbnail" carousel="true"]